This article is part 2 of 2, of Adaptive Development EQ’s Fundamentals Series, Fundamentals: On The Seat. To read Part 1, see: Fundamentals: On The Seat (Part 1 of 2).
EXECUTION OF THE SEAT AIDS
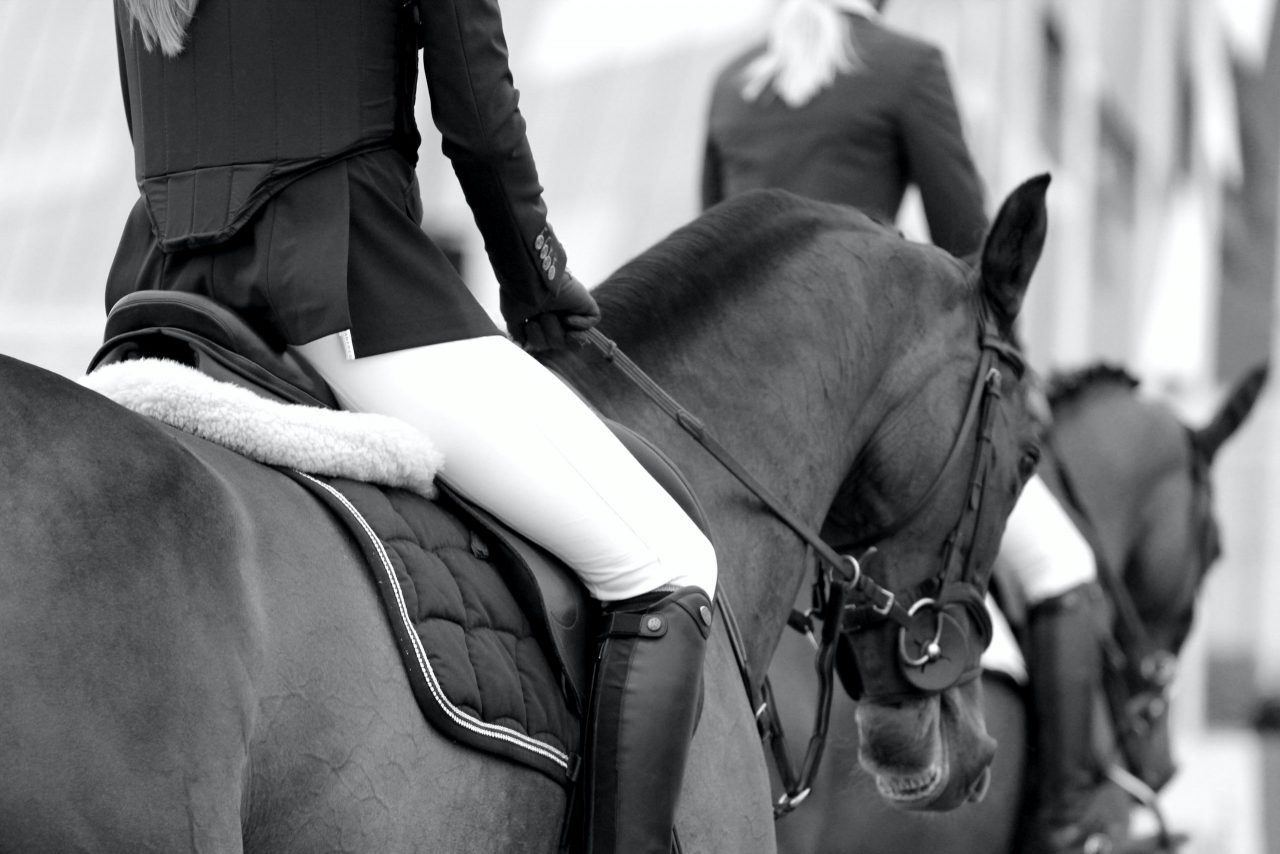
In Part 1 of this article, we have discovered the horse’s center of gravity, aligned with it, and disturb it as little as possible. Let us now move on to how we use our seat through manipulation of our weight in order to communicate our desires. When we are not giving a specific aid, we carry our weight with even distribution between the triangle of the pubic bone and the right and left seat bones. When we turn right or left, our primary request is applied through the seat and legs, with more weight placed on the seat bone (not in the stirrup iron) of the direction we are heading into, and when we wish the horse to slow down, we shift weight from the even distribution of the “triangle” (mentioned above) back towards the seat bones. Conversely, when we increase speed, we shift weight forward onto the pubic bone. Keep the gluteus maximus muscles relaxed to help prevent a “driving” seat, which puts too much pressure on the back and actually inhibits “through-ness”.
Note that the underlying need for these shifts in weight from right, left, forward and backward, is not taught because some trainer from three hundred years ago told his scribe, “this will be the aid for a given movement, write this down.” In fact, we could train most aids by tooting on a kazoo if we wished, but have fun with that; it will take some brainstorming without the underlying “logic” that biomechanics gives the horse and helps him to understand what we are asking of him!) Indeed, these aids are as old as man’s relationship with horses, and developed out of our desire to achieve true partnership with them.
Here, it helps to imagine how we lift a heavy backpack up onto our shoulders; we step under the weight of the backpack as we lift. So too does a horse naturally step under the weight of the rider so that he can keep his own balance. In this way, we use our seat (i.e., influence the horse’s balance) to initiate the basics such as turns, changes of direction, canter departures, and halting, to the more intricate aids such as those for shoulder-in, renvers, travers, etc.. It also allows us to influence a wayward horse’s straightness and neck carriage (yes, through the seat!), condense upright onto the haunches, or stretch out lengthwise and forward into a gallop . This is all done primarily through the seat, with supportive aids given in conjunction through the hands and legs, which (make note!) are of secondary influence to the balance-influencers given through the seat.
DEVELOPMENT OF THE ANCHOR
If this sounds simple, let me add one more ingredient: that mysterious “thing” that makes good riders stick to the seat of their saddles, and allows them to give responsive, independent aids with their leg and hands. This “stickiness” is called the anchor and the energy of it originates not in the seat, but in the torso.
It is so integral to advanced riding that upper level riders actually initiate the anchor aids before they initiate those given through the pelvic triangle, legs and hands, and they do this in order to stay quieter and tighter to the horse’s center of gravity. Turn it on, teach it to your horse, and you will find that you can halt him without rein aids or a shift in your pelvic tilt.
We need this at the upper levels because invariably, and regardless of the discipline, the upper levels call for the hardest maneuvers and the hardest maneuvers require the greatest amount of balance and strength. In order for the horse and rider to be able to execute them to their best ability (i.e. the difference between a win and second place), often boils down to even slight imbalances that prevent a horse from that little bit of a bigger stride across the finish line, that little bit of extra propulsion needed to clear the top rail of a jump, or the little bit of extra impulsion to give that needed edge of brilliance to a piaffe: all of this lost because the horse was too busy making balance adjustments to stay with their “busy” riders.
The anchor is not an easy thing to execute when you first begin practicing it. It is even harder to describe it in writing and develop it without an instructor who can have eyes on you. However, the basics are as such, where the flow of energy can be pictured in the shape of a candy cane:
- Initiation begins in the muscles of the diaphragm. In isolation, these muscles should be drawn upward and outward (alternatively, it can be said that you are drawing the bottom of your rib cage up and pushing it outward.)
- This energy flows up and over the tops of the shoulders (the “loop” of the candy cane) and flows to the base of the shoulder blades.
- The shoulder blades are then drawn together at their lowest point, and this flow of energy is then sent down through the pelvis, through the saddle and down into the horse. Consider yourself now energetically connected to your horse.
- Then, imagine that the “tail” of this imaginary candy cane extends through the horse and into the ground. Consider now, that both you and your horse are energetically grounded.
What’s all this stuff about energy and grounding? I tell my students its yoga with your horse, and it’s absolutely NOT silly! If you are a visualizer, I urge you to try it. Your reward will be better balance and enhanced partnership.

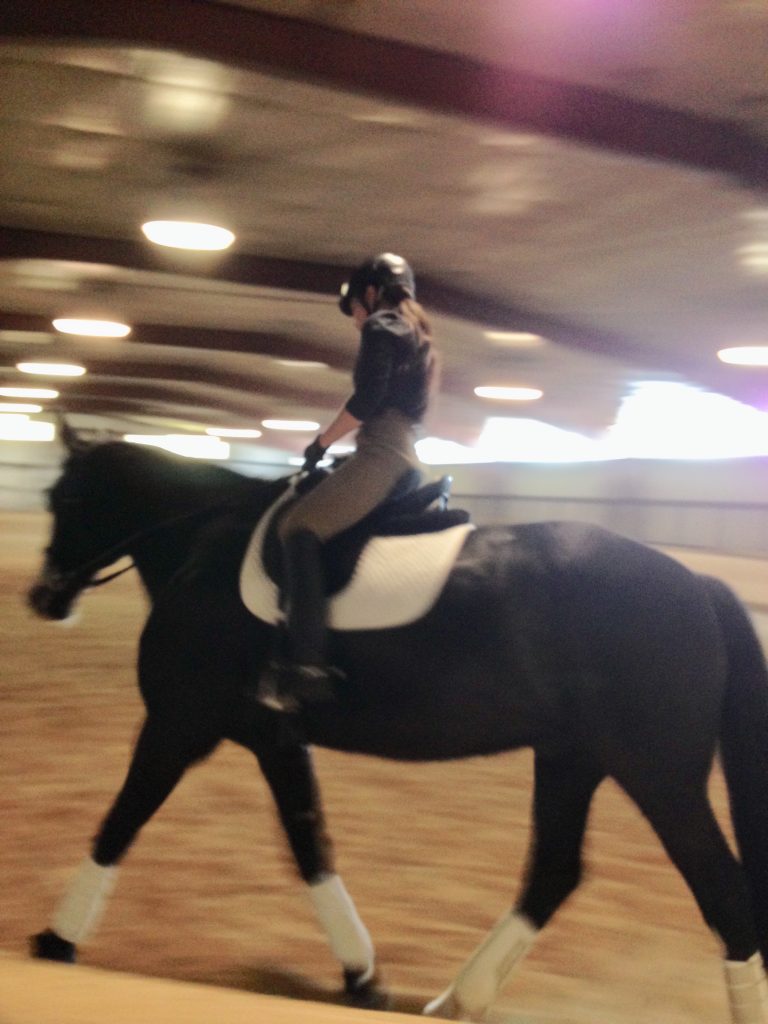
In essence, this is the vertical line of your center of gravity, and the strength initiated through our torso is what keeps us “sticking” to that center and therefore, sticking to the horse’s back, sticking to the horse’s movement, and freeing the rest of our body to be more dynamic and effective in giving aids.
BRINGING IT TOGETHER
It seems that our children have the easiest time developing their riding seat, and they do it without all this detail and explanation that adults seem to need. In fact, while these details are helpful, sometimes we see that it is our attachment to them that makes us stuck. If you feel yourself getting uptight before you can ask for a movement and your horse is getting flaky as a result, remind yourself that these details are simply the explanation of how we are moving as one with the horse.
It may be easiest to just let go of the logic and simply focus on being above the horse’s natural movements and relaxing into them. As you train your body to the correct application of these aids, you will gain strength as well as the ability to begin giving independent aids, both of which are requirements for advancing to higher levels of riding skill.
The surest way to develop a correct seat is to ask for lessons on the longe. We practice on the longe without stirrups, and we also practice without holding the reins. We practice on the longe through all the gaits including jumping, and in this way, we are forced into true balance with the horse because we cannot fall back on our stirrups and reins as a crutch.
Repetition is our friend. When I was first learning my riding seat, I was required to master all the gaits (including jumping) on the longe without stirrups or reins before moving on to advanced lessons. The old fashioned practice of removing reins (tie a knot – don’t remove them completely!) and stirrups in the early days of your practice may seem extreme, but the theory is sound, for it is through knowing the feel of the horse under you, that your confidence in the saddle solidifies, and your connection deepens.
I also regularly have my students close their eyes. You will be amazed to find, especially on days when things are hectic and your mind is racing, just how out of balance you really are. You unconsciously use your eyes to help you balance. If you close them and you feel yourself sway, it is a sure sign that you need to take a deep breath, and “reset” your anchor.
If you and your horse are still learning balance, and the weight aids, find a horse that is a school-master that you can take lessons on in addition to riding your own horse, or find a trainer that can teach your horse the correct balance and weight aids for you. When you have a horse to learn on that will give you the correct response when you give the correct aid, this helps everything to click into place in your head, and prevents problems due to core deficiencies from arising unexpectedly (and frustratingly bar you from moving forward) later on in training.
Practice this! Build strength, and ride as often as you can. When, through your seat, you are able to find, stay with, and influence your horse’s center of gravity, you are well on your way!
To read Part 1 of the series, see: Fundamentals: On The Seat (Part 1 of 2) in Adaptive Development EQ’s Fundamentals series!
Additional articles in this series include:
- Fundamentals: On the Leg (Part 1 of 2)
- Fundamentals: On the Leg (Part 2 of 2)
- Fundamentals: On the Seat (Part 1 of 2)
- Fundamentals: On The Seat (Part 2 of 2)

Euki is the founder of Adaptive Development EQ. She loves inspiring riders and owners through the developmental process of holistic, whole-horse training, and is on a mission to help them rediscover their horses and fall in love with them all over again.

